
To start off with, you'll need some images to work from, so bust out your trusty camera and go texture hunting! You don't need a super expensive ultra high-res camera to get good textures, you just need something that can get an image about 1000 pixels wide with relatively little noise. When looking for things to photograph, the main thing is to obviously look for an interesting texture, but more specifically look for things with a good amount of contrast between the lights and darks, have some amount of repetition, and would be fairly easy to tile (that is, make the edges blend seamlessly in to each other). Also try to take your photographs from as straight-on as possible so your texture doesn't have perspective, or it might look wonky in your piece.
If you don't have any kind of camera, you can still get textures online and use them; this will work just as well, but they may require credit to use. The disadvantage of getting textures online is you'll probably only search for things you expect to use, going on a little texture-hunt with your camera will show you lots of interesting possibilities that you wouldn't have thought of that will ultimately add more fuel to your creative fire.
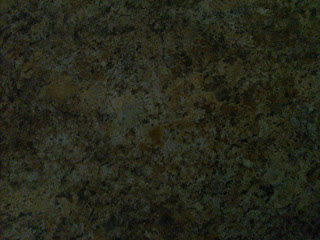
Here's an example of a texture I shot, the image is straight out of the camera. It's a little low contrast, but that will be edited later. The important thing is that it has an interesting balance of light & dark shapes that will make for an interesting texture. Try and get at least 10 different textures with a good amount of variety.
Now we've got to turn it in to something you can use. It's best to not use an image straight out of the camera, so let's start with some editing. This is where Photoshop will have an advantage over Painter. If you have Photoshop (Elements will do), you will want to start by tiling your texture, check out this tutorial for info on how that's done: [Link].
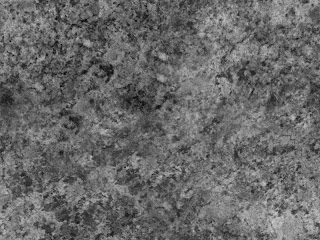
You will then want to turn your texture black and white, then increase its contrast so that it has a clear division between lights, midtones, and darks. In Photoshop, you can do this with Image-> Adjustments-> Hue/Saturation, and Levels (Ctrl+L). In painter, you can use Effects-> Tonal Control-> Adjust Colors and Effects-> Tonal Control-> Brightness/Contrast. I can explain that more thoroughly another time, but it should be simple enough that you can figure it out.
After editing, your texture should look something like this, so just resize it to something around 1,000 or 1,200 pixels and save it to your textures folder!
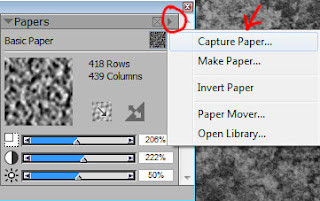
Now to get it so we can use it in Painter is relatively simple. Simply open your Papers palette (Window-> Library Palettes-> Papers). Now open up your texture and press Ctrl+A to select the entire image. Then click the arrow in the top right corner of your Papers palette, then click Capture Paper. Now just type in a name for your paper and click ok!
The paper should then appear in your Papers palette, and you can use the options shown in Part One to edit your texture while working and get all kinds of variety. So just create a nice library of different textures, grab your Large Chalk brush (Or whatever textury brush has captured your imagination) and start painting!
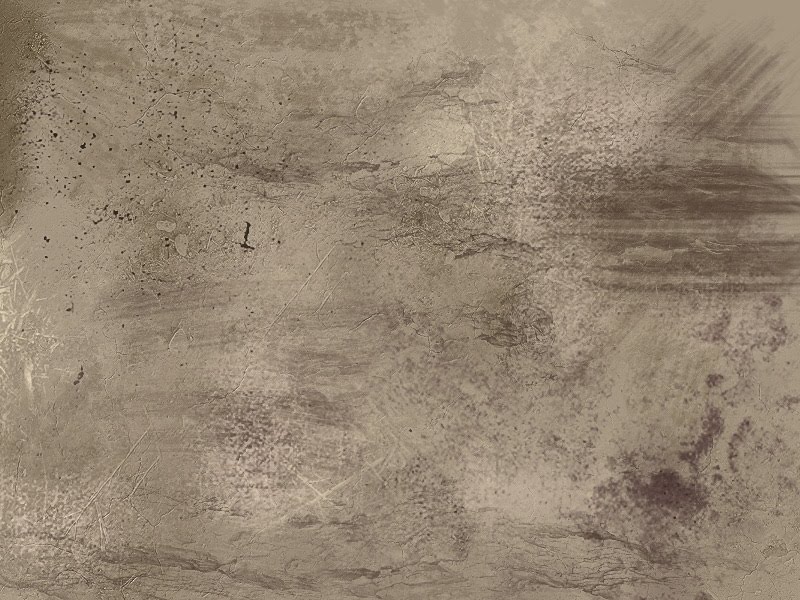
Below is an example of my paper library put in to action. Compare it to the final texture image in part one and you'll see why you want to make your own paper textures!
And that's it! Tomorrow will be covering how to make some custom brushes that will really take advantage of these textures. Happy painting!
No comments:
Post a Comment